 Skip to content
 After a New Jersey winter, inspect your roof for damaged or missing shingles, failed flashing, ice dam damage along the eaves, clogged gutters, cracked pipe boots, and any new ceiling stains inside, because freeze-thaw cycles, heavy snow loads, and nor’easters create damage that often doesn’t show up as a visible leak until spring rain hits.
Spring is the busiest season for roof leak calls across New Jersey, and it’s not because roofs suddenly fail in March. It’s because winter spent months quietly damaging them, and the first warm rains exposed every weakness at once. A homeowner who had no leaks all winter can suddenly find three separate problem areas the first week of April.
This guide walks you through exactly what to inspect, where to look, what damage patterns are specific to NJ winters, and when to call a professional before a spring storm turns a minor issue into a major repair.
Why Are NJ Winters So Hard on Roofs?
Before getting into the inspection checklist, it helps to understand what your roof actually went through between November and March.
New Jersey sits in a climate zone that delivers the worst of multiple worlds. Winters bring repeated freeze-thaw cycles, with temperatures dropping below freezing at night and rising above freezing during the day, sometimes multiple times in a single week.
Each cycle causes roofing materials to contract and expand. Shingles stiffen in the cold, become brittle, and crack. Sealants shrink. Flashing shifts. Caulk dries out.
On top of that, NJ experiences significant snow accumulation, ice damming, and nor’easters that combine high winds with heavy precipitation.
A single major storm can loosen flashing, lift shingles, crack pipe boot seals, and clog gutters simultaneously, and none of it may be obvious until the snow melts and spring rain comes through.
The result: by the time April arrives, most NJ roofs have accumulated some level of winter damage. The question isn’t whether your roof was stressed; it was. The question is how much damage it absorbed and whether any of it opened a path for water.
Regular post-winter maintenance, including debris removal and algae prevention, can extend the lifespan of roofing materials, which is why many homeowners also explore professional Roof Cleaning Fort Lauderdale services for guidance on protecting roofs from long-term moisture and organic buildup.
Start Inside: Check Your Attic and Ceilings First
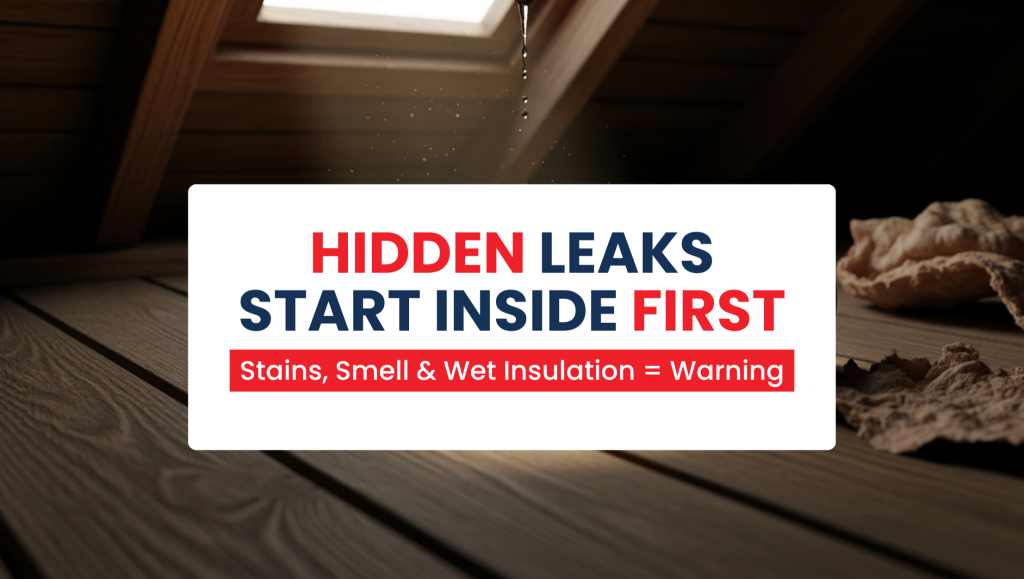
Same rule as always, start inside before you ever look at the roof surface.
In the attic:
Go up with a bright flashlight on a dry day and look for any of the following:
- New water stains on the underside of the roof decking that weren’t there last fall
- Soft or discolored wood on rafters or sheathing, press it with your thumb; healthy wood is firm
- Daylight visible through the decking anywhere along the eaves or ridge
- Wet, compressed, or discolored insulation, particularly along the eaves where ice dams form
- Frost or ice residue on nails or framing that indicates condensation issues over winter
- Any smell of mildew or mustiness that wasn’t present before winter
Mold that developed over winter is one of the most common surprises NJ homeowners find in spring attic inspections. It grows fast in damp, cold conditions and can spread significantly across a single winter season if there is any moisture intrusion.
On interior ceilings:
Walk through every room slowly and look up. You’re looking for:
- New stains or rings that weren’t there last fall, even faint ones.
- Paint that’s bubbling, peeling, or showing tide marks.
- Any soft spots in drywall, press gently along the ceiling edges near exterior walls.
- Staining along the top of walls where they meet the ceiling, especially on exterior-facing walls, is a classic ice dam damage signature.
Pay extra attention to rooms directly below the attic, and to ceilings near chimneys, skylights, and exterior walls. These are where winter damage shows up first.
The Spring Exterior Inspection Checklist

Once you’ve done the interior check, move outside. A lot of the following can be assessed from the ground with binoculars; you don’t necessarily need to get on the roof for the initial scan.
1. Shingles
Winter is hardest on shingles, particularly on north-facing slopes that stay frozen longest and on low-pitch sections where snow sits heaviest.
Look for:
- Missing shingles, visible gaps, or patches where the underlying felt or decking is exposed.
- Cracked or split shingles are often caused by thermal contraction during hard freezes.
- Curling edges, shingles curling upward at corners or edges, is a sign that the adhesive strip has failed.
- Shingles that look raised or lifted, wind during nor’easters can break the seal strip, leaving shingles loose even if they haven’t blown off entirely.
- Granule loss, bare, shiny patches where granules have been stripped by ice or snow movement across the surface. Check your gutters and downspout splash areas for granule accumulation as a secondary indicator.
- Any shingles that appear darker or shinier than the surrounding ones after the roof dries, moisture retention in a specific area indicates compromised material underneath.
North-facing slopes and sections near valleys deserve the most attention. These areas stay frozen longest and accumulate the most ice dam activity.
2. Flashing, The Most Critical Inspection Point in Spring
Flashing fails more frequently after winter than at any other time of year. The repeated contraction and expansion of the metal, combined with the freeze-thaw movement of the materials it’s sealing against, loosens fasteners, breaks sealant bonds, and creates gaps that weren’t there in October.
Check every flashing location:
Chimney flashing: Look for step flashing that’s lifted away from the chimney base, counter flashing that’s pulled out of the mortar joints, or visible gaps between the flashing and the chimney brick. After a hard winter, mortar joints often crack and loosen, releasing embedded flashing.
Valley flashing: Walk the perimeter and look along the valleys where two roof planes meet. Lifted edges, visible rust, or sections where shingles have pulled away from the valley line all indicate flashing problems.
Skylight flashing: Look for any separation between the skylight frame and the surrounding roofing at all four edges. Ice expansion around a skylight during winter is a common cause of frame shifting and seal failure.
Pipe boot flashing: Every pipe or vent penetrating your roof has a rubber or metal collar. Rubber boots crack and split in cold temperatures. This is one of the most common post-winter leak sources in NJ homes. Look for boots that are visibly cracked, tilted, or pulling away from the pipe.
Dormer and wall flashing: Where your roof meets a vertical wall, at dormers, additions, or where a lower roof section meets a wall, look for flashing that’s pulled away, rusted through, or has visible gaps along the top edge.
Our Roof Flashing Repair NJ page covers what the repair involves and what you can expect to pay.
3. Gutters and Drainage
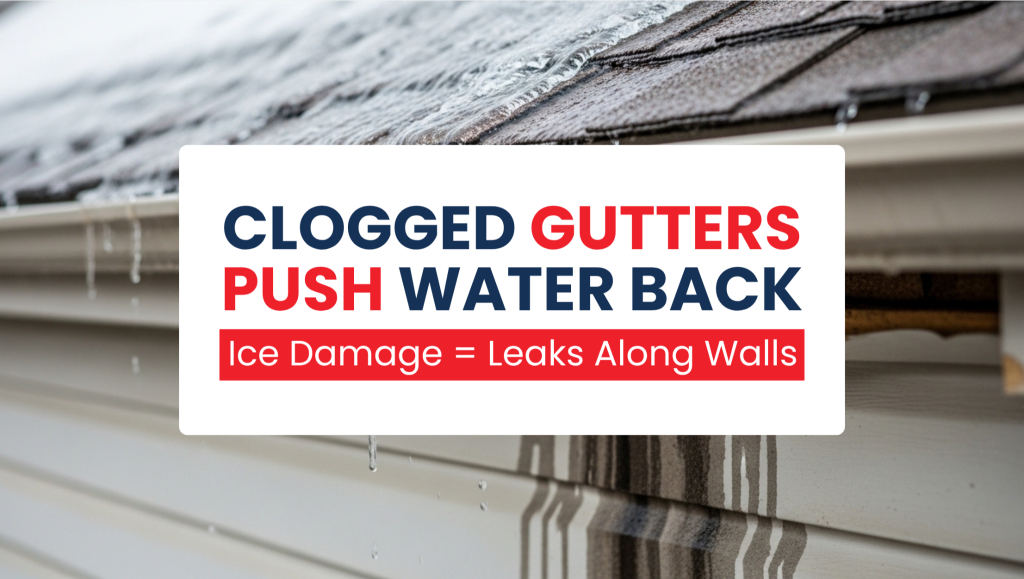
Gutters take a significant beating over an NJ winter. Ice dam formation, heavy snow loads, and freeze-thaw expansion all stress gutter systems, and compromised gutters are a direct cause of spring roof leaks.
Inspect for:
- Gutters that are visibly sagging, pulling away from the fascia, or have sections that have separated at the joints
- Fascia boards behind the gutters, look for rot, staining, or soft wood, which indicates water has been backing up behind the gutter all winter.
- Debris accumulation from fall and winter, leaves, twigs, and granule buildup that prevents drainage.
- Downspouts that are disconnected, crushed, or clogged.
- Any sections of gutter that are visibly bent or deformed from ice weight.
Clean gutters thoroughly as part of your spring inspection. Clogged gutters are one of the fastest ways a spring rainstorm becomes a roof leak. Make sure downspouts extend at least four to six feet from your foundation to prevent water from pooling against the house.
4. Ice Dam Damage, Know Where to Look
Ice dams leave specific damage signatures that are worth knowing, because the damage they cause over winter often doesn’t reveal itself until the first spring rain.
Where does ice dam damage show up?
- Along the eaves, look for shingles that are lifted, missing granules specifically along the lower edge, or shingles that appear wavy or uneven.
- Fascia and soffit, ice dam water running behind gutters saturates the fascia. Look for staining, rot, or paint peeling specifically in the eave zone.
- Interior ceiling stains along exterior walls, ice dam water typically enters at the eave line and tracks down the wall inside, causing staining at the ceiling-wall junction rather than in the center of the ceiling.
If you had ice dams visibly present on your roof this winter, the telltale icicle formations and ice buildup at the eaves, treat the eave zone as a high-priority inspection area this spring. Even if the ice melted without an obvious interior drip, the water may have entered and absorbed into insulation and sheathing without reaching your ceiling yet.
See our Ice Dam Repair NJ page for a full breakdown of damage patterns and repair options.
5. Chimney Condition
The chimney takes punishment from every direction in winter, freeze-thaw cycles crack mortar joints, water infiltrates brick, and the cap gets battered by ice and snow. Spring is the right time to do a thorough chimney assessment.
Inspect from the ground:
- Look at the mortar cap on top of the chimney (the crown), cracks or missing sections are visible from the ground with binoculars.
- Check whether the chimney cap (the metal cap over the flue opening) is still in place and intact.
- Look for spalling brick, pieces of brick face that have popped off due to water infiltration and freezing. This appears as rough, pitted, or flaking surfaces on the brick face.
- Check the mortar joints between brick courses; deteriorated mortar appears recessed, crumbly, or missing in sections.
Any of these conditions allows water to enter the chimney structure, which eventually shows up as interior staining near the fireplace or on adjacent walls. See our Chimney Leak Repair NJ page for what a thorough chimney leak assessment covers.
6. Ridge and Hip Condition
The ridge, the peak of your roof, and the hips where roof planes meet at corners are sealed with ridge cap shingles. These take direct wind exposure and are particularly vulnerable to nor’easter damage.
Look for:
- Ridge cap shingles that are lifted, cracked, or missing entirely.
- Any gaps along the ridge line where the two roof planes meet.
- Exposed nails or nail heads along the ridge, these should be sealed and covered.
A compromised ridge cap is a significant leak risk because water running down both sides of the roof converges at the ridge line during wind-driven rain events. Even small gaps at the ridge can allow substantial water intrusion.
7. Flat Roof Areas and Low-Slope Sections
If your home has any flat or low-slope sections, common on additions, porches, and some NJ colonial and cape cod styles, these deserve specific attention after winter.
Inspect for:
- Membrane bubbling or blistering, caused by moisture trapped under the membrane during freeze-thaw cycles.
- Visible cracks or splits in the membrane, particularly at seams and edges.
- Ponding water areas, sections where the membrane has deflected enough to hold standing water.
- Flashing separation at the perimeter where the flat roof membrane meets vertical walls or parapets.
Flat roof membranes, EPDM rubber, TPO, and modified bitumen all become more brittle in cold temperatures and more susceptible to cracking.
After a winter with multiple hard freezes, membrane inspection is not optional. Visit our Flat Roof Leak Repair NJ page for more on post-winter flat roof assessment.
What to Do When You Find Damage?
Prioritize by urgency. Not all winter damage is equally pressing. Here’s a practical framework:
Fix within 48–72 hours:
- Any area where you can see daylight through the roof from the attic.
- Pipe boots that are visibly cracked or separated let water in with every rain.
- Missing shingles over large areas of exposed decking.
- Active drips or new ceiling stains appearing during rain.
Fix within two weeks:
- Lifted or loose shingles that haven’t blown off yet, they will in the next storm.
- Flashing that’s visibly separated but not yet causing an interior leak.
- Gutters are pulling away from the fascia.
- Cracked chimney crown or missing chimney cap.
Schedule before summer:
- Granule loss on aging shingles. This is a roof lifespan issue, not an emergency, but worth addressing before summer heat accelerates deterioration.
- Early-stage fascia rot before it spreads to the soffit and sheathing.
- Flat roof membrane blistering that hasn’t opened yet.
Related: Roofing Maintenance Checklist for NJ – What to Check After Winter?
Should You Get a Professional Spring Inspection?
If your roof is over 10 years old, if you had ice dams this winter, or if you experienced any significant nor’easters or wind events between November and March, yes, a professional spring inspection is worth the cost.
A licensed NJ roofer doing a spring inspection will access areas of the roof you can’t safely reach from the ground, identify damage that isn’t visible without getting on the surface, and give you a written scope of any repairs needed.
That written report is also useful if you’re planning to file an insurance claim for storm-related damage; having professional documentation of the damage type and cause strengthens your claim significantly.
Read our guide on whether roof leak repair is covered by homeowners’ insurance in NJ before you call your insurer, and check our ” How to choose a roof leak repair contractor in NJ page before you hire anyone for spring repairs.
How Much Do Spring Roof Repairs Typically Cost in NJ?
Post-winter repairs vary widely depending on what the inspection finds. Common spring repair costs in NJ:
- Pipe boot replacement: $150–$350 per boot.
- Flashing repair (chimney, skylight, valley): $400–$1,500 depending on scope.
- Missing shingle replacement (small section): $300–$700.
- Gutter reattachment and cleaning: $200–$500.
- Ridge cap replacement: $500–$1,200.
- Ice dam damage repair (shingles + underlayment): $800–$3,000+.
- Chimney crown repair or repointing: $500–$2,000.
Catching these repairs in spring, before summer storms compound the damage, almost always costs significantly less than addressing them after water has been entering for another season. See our full How Much Does Roof Leak Repair Cost in NJ? guide for a detailed breakdown.
Helpful Pages on NJRoofLeakExperts.com
- Roof Leak Repair NJ: full overview of what the repair process looks like.
- Emergency Roof Leak Repair NJ,If a spring storm has already found the weak spots, don’t wait.
- Roof Flashing Repair NJ , the most common post-winter repair need in NJ homes.
- Ice Dam Repair NJ, Understanding winter ice dam damage and what it leaves behind.
- Chimney Leak Repair NJ , Post-winter chimney assessment and repair.
- Flat Roof Leak Repair NJ , Membrane inspection and repair after freeze-thaw exposure.
- Metal Roof Leak Repair NJ , Seam and fastener inspection specific to metal roofing systems.
- How to Find the Source of a Roof Leak in Your NJ Home ,If spring rain revealed a leak and you can’t locate the entry point.
- What Happens If You Ignore a Roof Leak? What happens when winter damage goes unaddressed through another season?
The Bottom Line
Spring is not the time to assume your roof made it through winter without damage; it’s the time to find out for certain.
New Jersey winters are hard on every component of a roofing system, and the damage is cumulative.
A roof that handled last spring’s rain without issue may not handle this spring’s rain the same way if a hard winter opened new vulnerabilities.
Do the interior inspection first, then the exterior walkthrough, then address what you find in order of urgency.
If you’re not sure what you’re looking at or what’s safe to ignore versus what needs immediate attention, get a professional set of eyes on it before the next storm decides for you.
